
Easy Cheesecloth Ghosts Tutorial First Day of Home
Step 4: Drape the Cheesecloth. Remove the wet cheesecloth from the bag and gently drape it over the head structure of your ghost form. Take your time arranging the cheesecloth pieces to create folds and flowy parts at the bottom of the ghost. It's very important that you use enough cheesecloth so that it "puddles" at the base of the ghost.

Cheesecloth Ghosts DIY Tutorial Darice Cheesecloth ghost, Cheese
Coat the cheesecloth with a thin layer of sprayable Mod Podge. Basically just spray all over and then let dry. Then spray again to ensure that the cheesecloth is stiff. Allow the cheesecloth ghosts to dry for several hours (or over night). Step 5: Remove the ghost form.
Cheesecloth Ghost Tutorial Inspiration Made Simple
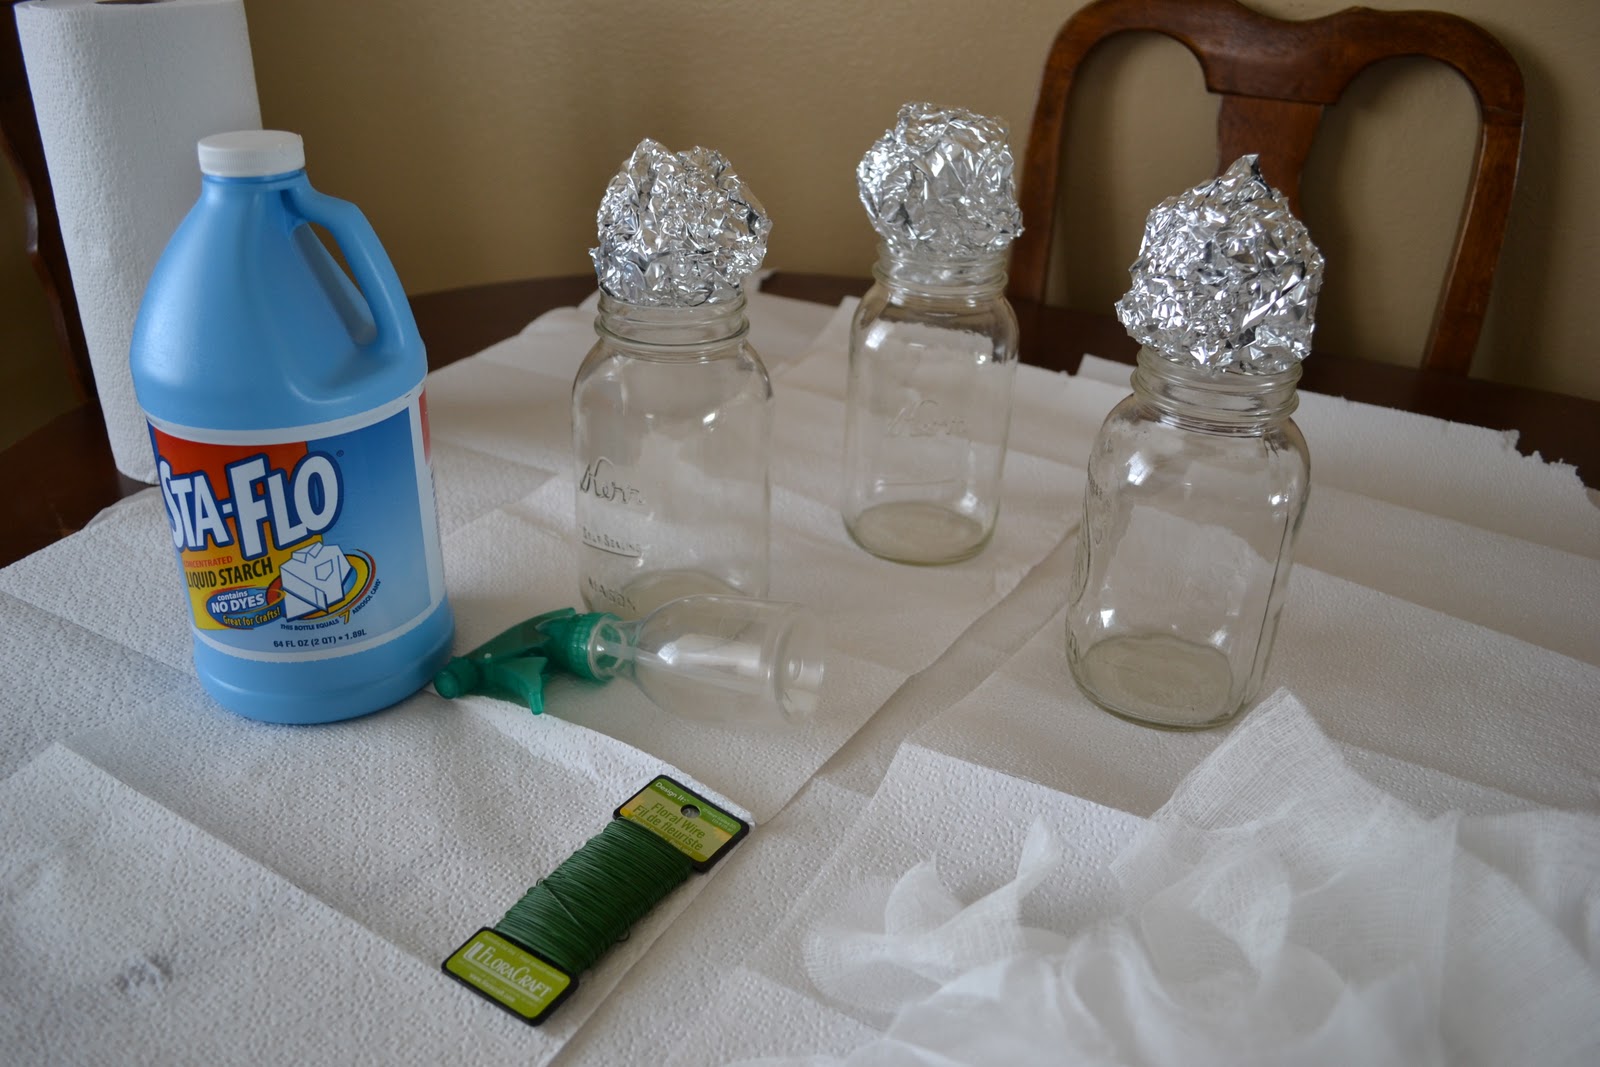
Cheesecloth Ghosts Instructions: Step 1) Cover the object you are using for the head with waxed paper. Step 2) Using floral wire or what you have to use for shaping your ghost. Step 3) Put your ghost base together. In my case I used floral wire, an old glass vase and a metal orb.

how to make cheesecloth ghosts 4 Ghost Crafts, Halloween Wood Crafts
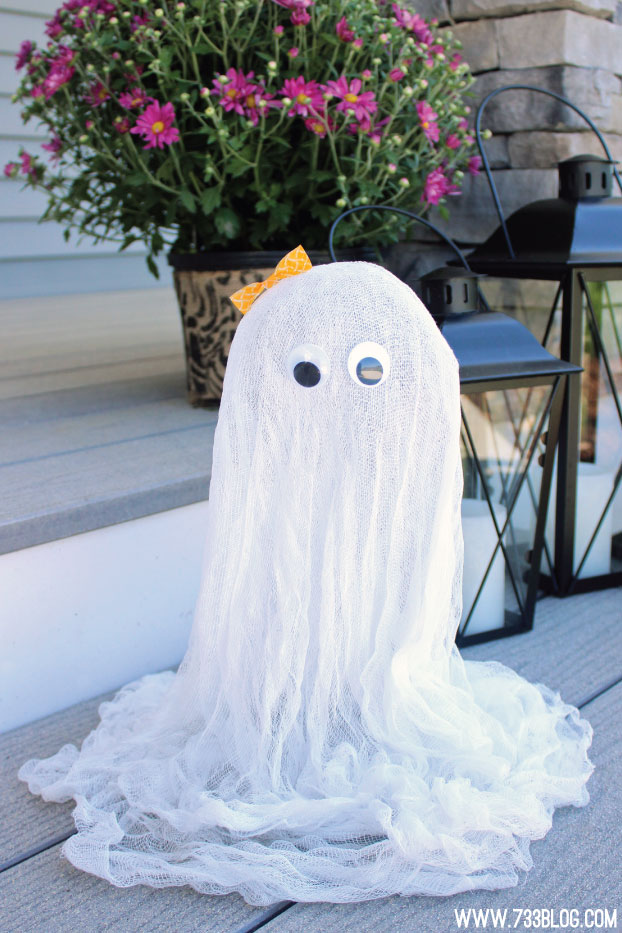
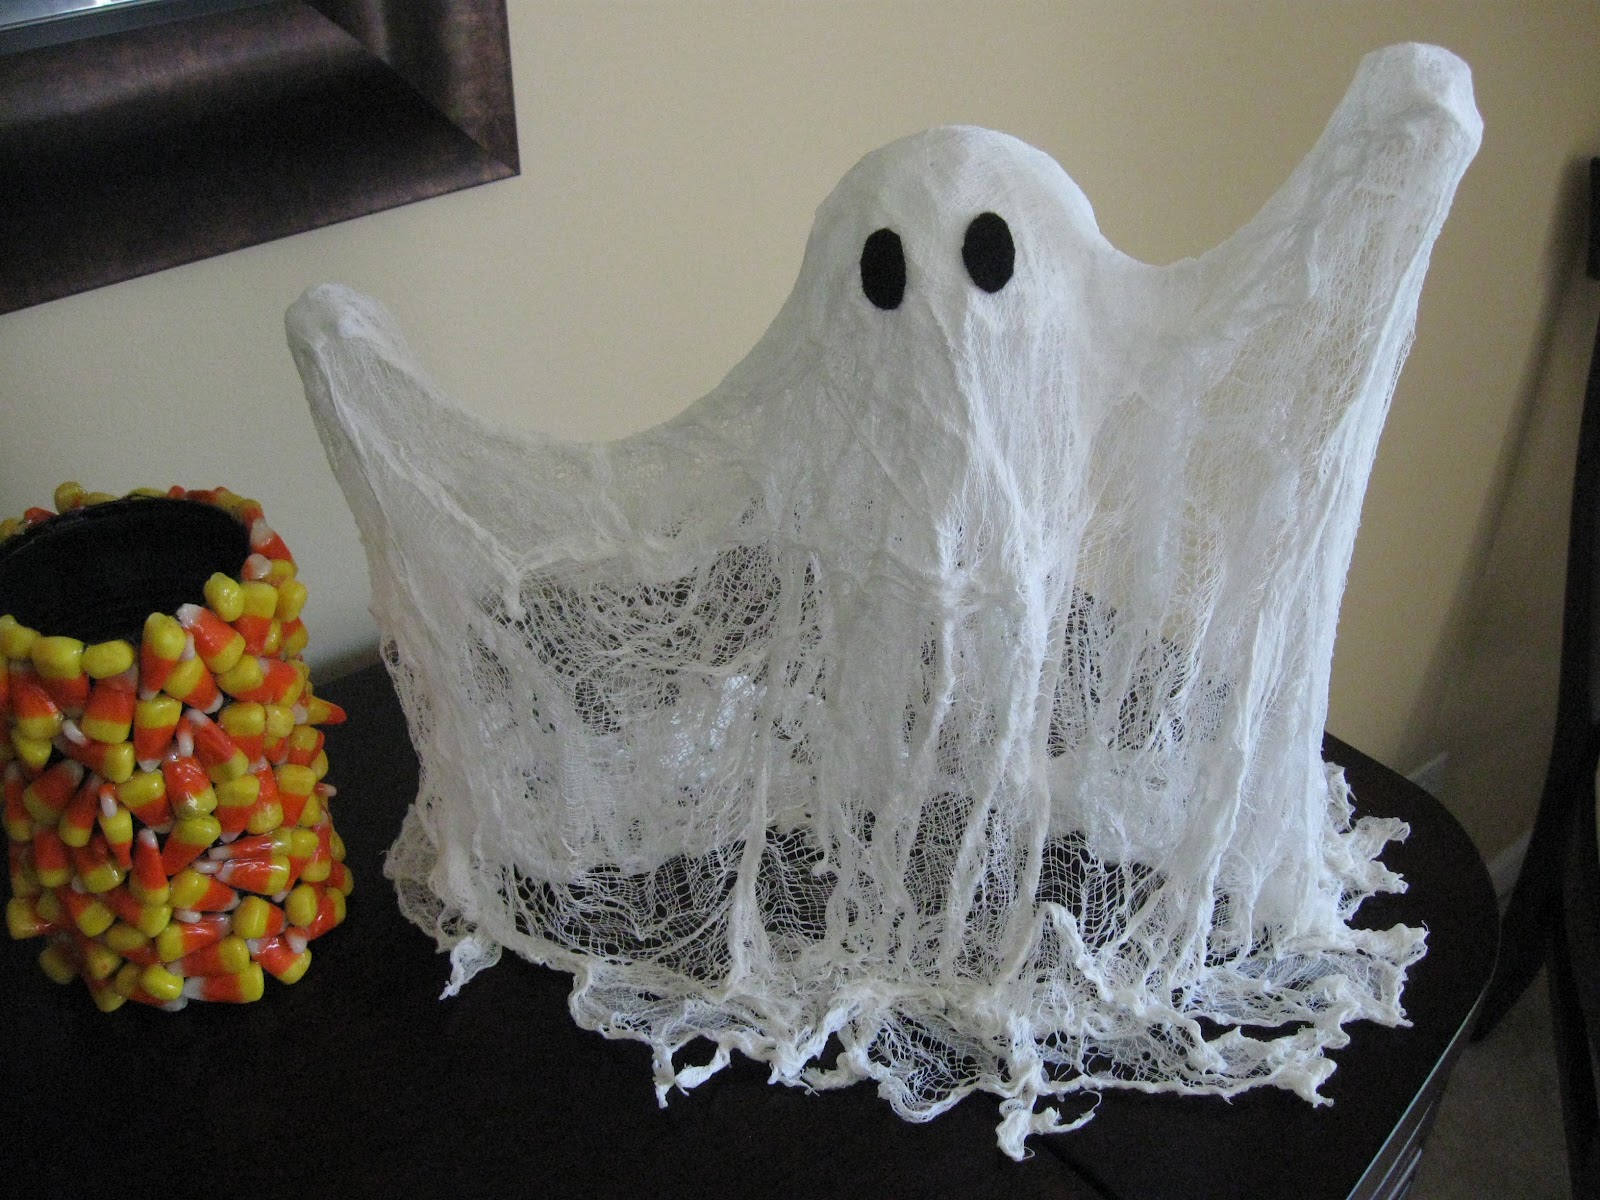
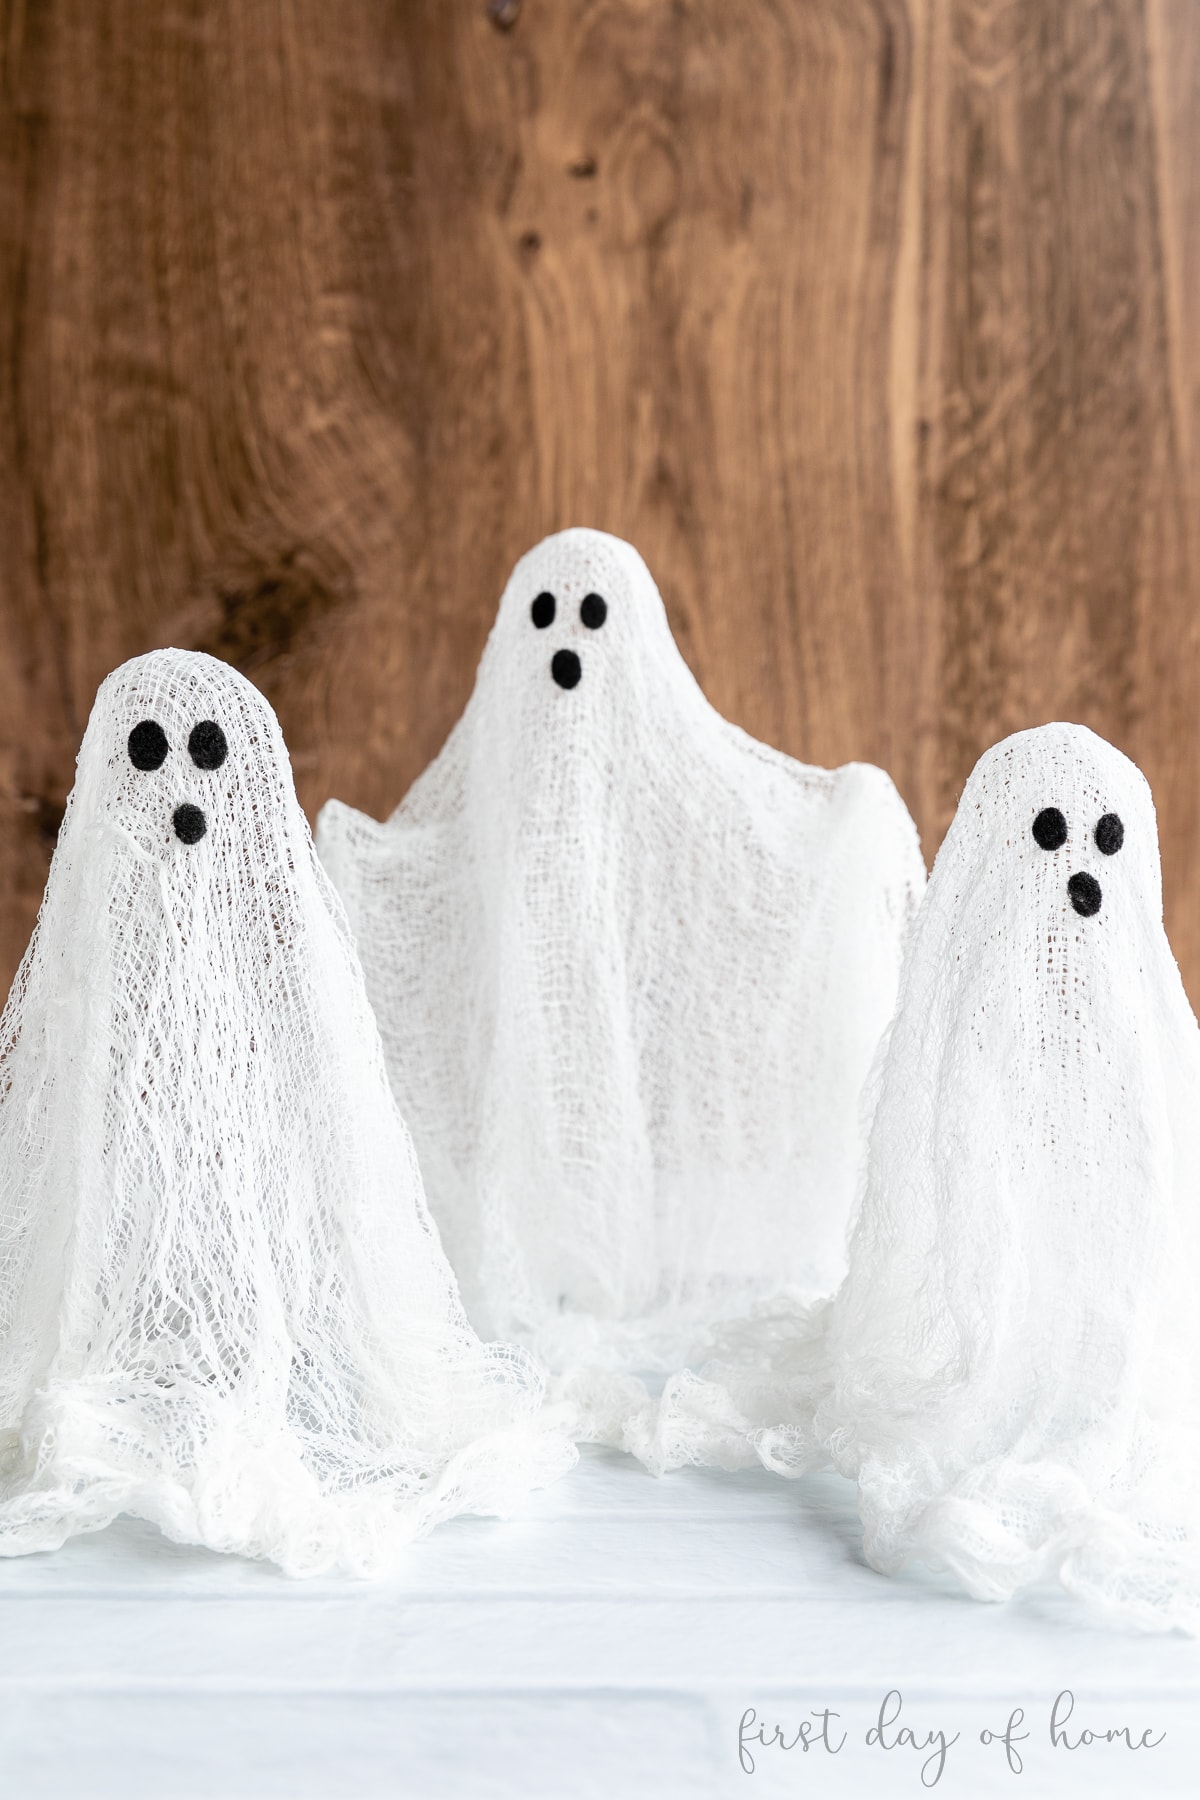
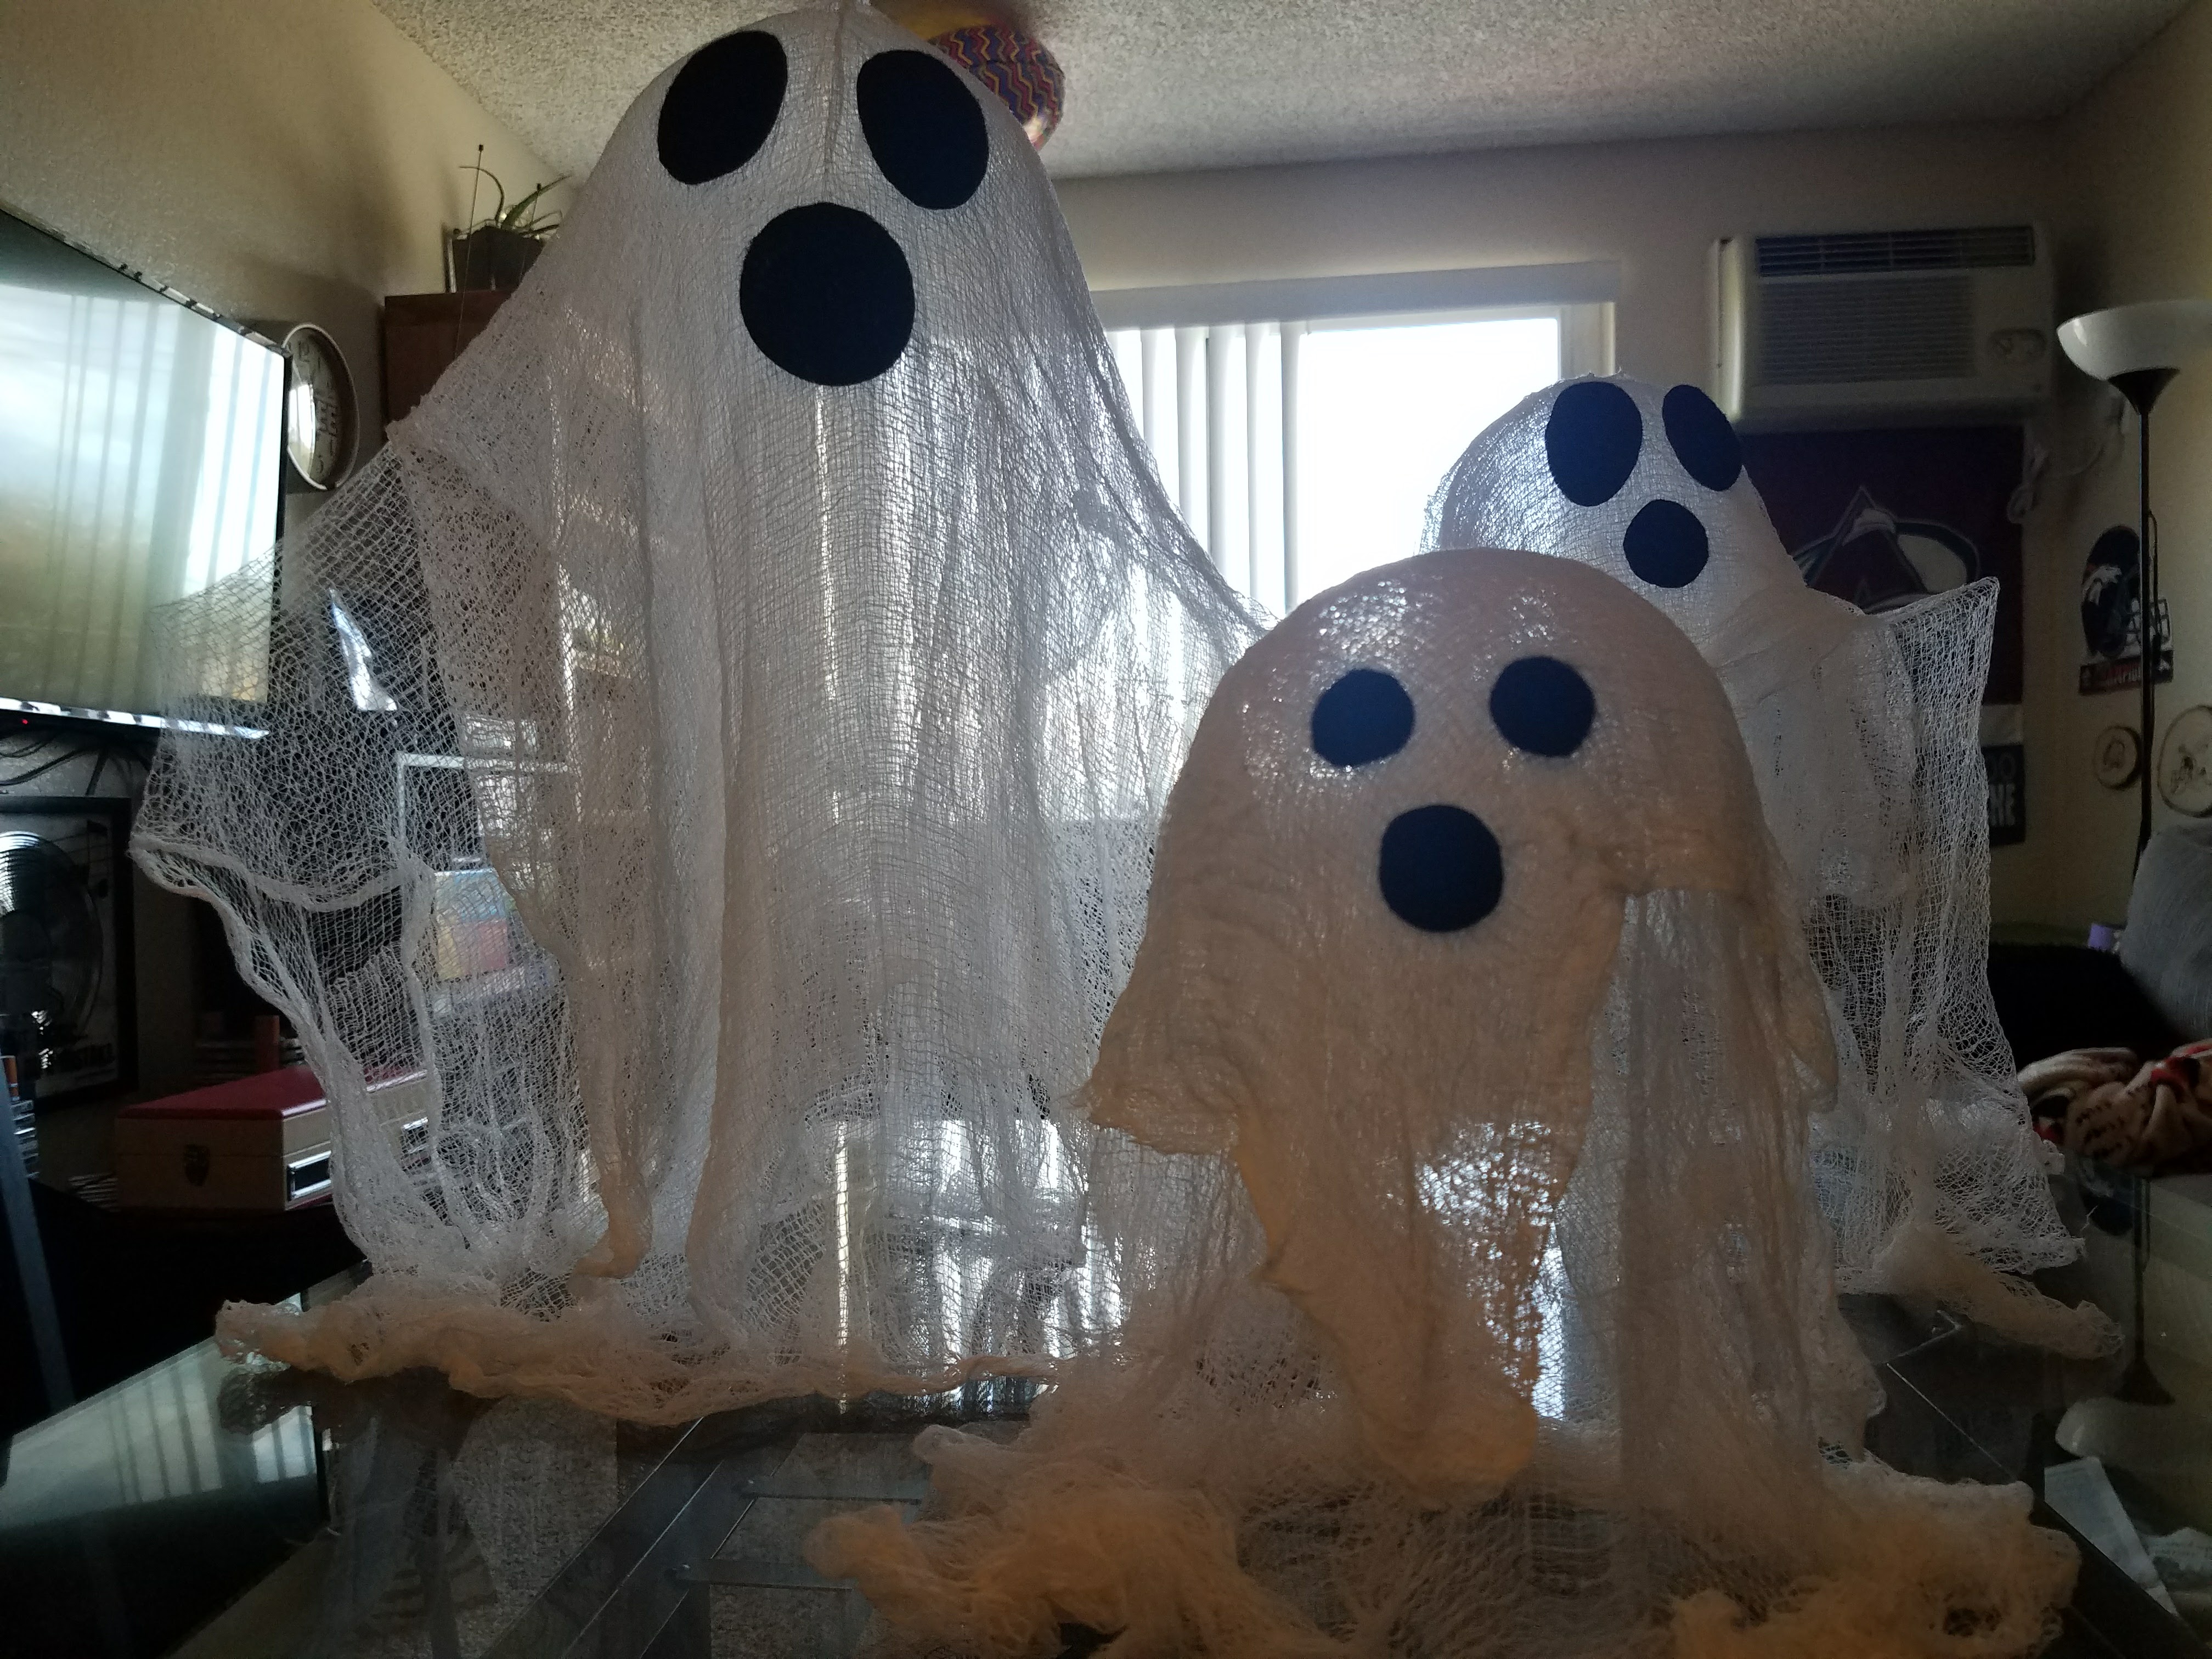
Step 10: Add eyes to your ghost. This can be googly eyes, buttons, or you can draw eyes with a black marker. Use a hot glue gun or tacky glue and let them dry completely. For extra pizzaz, you can get a string of battery operated fairy lights and set them in the ghost so it lights up at night. Fun!

How to make cheesecloth ghosts Hobbies And Crafts, Diy And Crafts
Apply cheesecloth: Apply a layer of cheesecloth to head, then generously brush over head and face with glue. Use hands to smooth the cloth into the facial features. Don't brush down the neck; stop at chin level so the fabric is loose below that.

How to Make Cheesecloth Ghosts 6 Steps (with Pictures)
Dip the cheesecloth in the bowl and saturate it with the glue/water mixture. Pull it out of the bowl and form your ghost. You will want to stretch out the cheesecloth so that it doesn't adhere to the can. Let it dry overnight. When the cheesecloth is dry, pop the balloon with something sharp, then gently peel it off the cheesecloth.
Craft Klatch ® Cheese Cloth Ghost Craft Tutorial
First, create a base to mold your cheesecloth ghost off of. Play with some pipe cleaners to create arms, and fix a round object on top of the jar to create a head for your ghost. You can also cover your ghost structure with plastic wrap so you can reuse the structure for more batches of ghosts. Next, soak your cheesecloths in Mod Podge or.

Spooky Cheesecloth Ghosts!
Attach Fishing Line to Head. Use a large sewing needle to thread a long length of fishing line through the top of the ghost's head. It's a good idea to drive the needle straight through the foam ball if possible. Triple knot this length of fishing line (Image 1). Finally, tie the ghost to hooks on a porch ceiling or sturdy tree branches in the.

Make cheesecloth ghosts, big or small! Cheesecloth ghost, Face
Step 2: Assemble the Ghost Bodies and Mix the Liquid Starch. For the ghosts, you really just want a nice rounded top and a good bit of height. That's it! If you'd like to add arms, use the wire and wrap it around whatever you're using. You'll also want to dilute the liquid starch so that it's easier to work with - I'd say 75% liquid starch and.

cheesecloth ghosts Cheesecloth ghost, Cheese cloth, Ghost decoration
Measure and cut the cheesecloth around the vase and styrofoam ball. Allow the cloth to drape on the ends to lay flat on the a covered surface. Soak the cheesecloth in the glue mixture and lightly squeeze out the excess. The more glue the cloth absorbs the better. Drape over styrofoam ball ghost form.
easy peasy lemon squeezy Cheesecloth Ghosts
Martha and TV crafter Jim "Figgy" Noonan create scary ghosts for hanging outdoors using everyday household items. For more Martha videos, go to http://www.Ma.

Easy Cheesecloth Ghosts Tutorial First Day of Home
Step 1: Prep the ghost structure. Before even working with the cheesecloth, make sure your structure for shaping the ghost is ready for you to place a wet cheesecloth on top of. To do so, curl the pipe cleaners around the bare lip of a mason jar, then hold them in place with a Mason jar ring. Twist the pipe cleaners to a shape you want for your.

Cheesecloth ghost Cheesecloth ghost, Cute crafts, I craft
Step 3: Drape the cheesecloth over the ghost form. Scrunch up one of the pieces of cheesecloth and dip it into the glue mixture. Don't fully submerge the cheesecloth or you'll end up with way too much glue on it. Squish the cheesecloth around in your hand to make sure the whole piece is covered in glue. Squeeze the cloth to remove the excess glue.
Easy Cheesecloth Ghosts Tutorial First Day of Home
6. Repeat steps 4-5 for as many ghosts forms as you have! And then the lame part - letting them dry! Set all of your ghosts in a place to let them dry for 2-3 days or until ALL of the ghosts are hard and ready to handle! 7. Once the ghosts are hard, carefully begin removing the inside forms and then stand up your ghosts to make sure they are.
How to make cheesecloth ghosts for Halloween
For the full instructions visit: https://onelittleproject.com/cheesecloth-ghostThis cheesecloth ghost is SO COOL! It's such a fun and spooky craft for fall a.

I'm going to make these cheesecloth ghost. halloween Ghost crafts
Step 1: Prepare ghost structure. For this tutorial, we'll use a styrofoam base, but you can also use a slender glass bottle and tape your ball or wooden bead to the top. It's a good idea to wrap your styrofoam base with foil or a plastic trash bag before you begin adding your ghost structures. Wooden skewers inserted into a styrofoam base.
